Seriously, why the fsck would anyone care?! Maybe you should learn the language of the land you are visiting, or not be pissed that you have trouble communicating.
Regardless, in this case, a possible solution may be for the person to go the fsck home where everyone speaks her language and she won’t feel isolated.
I wonder what experience I would have attending a top Chinese school without learning Chinese beforehand?
Why on earth would anyone side with that piece of afterbirth, Putin? This sonofabitch will fsck your wife and daughter (with another man’s Richard) in front of your eyes and then toss all of you out the window.
One of the most disingenuous motherfsckers in all the world.
He trusts no one and no one should trust him.
While nowhere near as offensive as China’s recent global behavior, I will not simply give a pass to India’s warming to Russian actions.
India has no loyalty. It is simply not something that one should expect from them. We gave India over $200,000,000 for Covid relief. In fact, we have given India over $65,000,000,000 since WW2 in absofsckinglootley free money.
India would rather be buddies with Putin.
Lets pressure our leaders to remove all “free” aid to the country of India. Let them hit up Russia for help. Oh, and while we are at it, lets remove India’s trade status as well. If they wish to practice warring against us, at least let them do so using their own money.
In the beginning, there was a plan,
And then came the assumptions,
And the assumptions were without form,
And the plan without substance,
And the darkness was upon the face of the workers,
And they spoke among themselves saying,
“It is a crock of shit and it stinks.”
And the workers went unto their Supervisors and said,
“It is a pile of dung, and we cannot live with the smell.”
And the Supervisors went unto their Managers saying,
“It is a container of excrement, and it is very strong,
Such that none may abide by it.”
And the Managers went unto their Directors saying,
“It is a vessel of fertilizer, and none may abide by its strength.”
And the Directors spoke among themselves saying to one another,
“It contains that which aids plants growth, and it is very strong.”
And the Directors went to the Vice Presidents saying unto them,
“It promotes growth, and it is very powerful.”
And the Vice Presidents went to the President, saying unto him,
“This new plan will actively promote the growth and vigor
Of the company With very powerful effects.”
And the President looked upon the Plan
And saw that it was good,
And the Plan became Policy.
Microsoft is really showing their hand now a days. They love us so much, they want .99 cents for the new ‘divx’ codec. Yep, Bill’s once great company, the one that gave us things like Power Toys for free, now won’t even let you watch a modern movie without paying up. Why didn’t you charge the movie makers a buck to keep me from downloading it, eh, Satya? I though you were the master of the upcharge?
Well, fsck you too Microsoft. You, and the cheap whore on your back.
Nice case design! Everything but access to pin headers, which I think can be handled pretty easily. Ordered up all the parts, keep watching for the build.
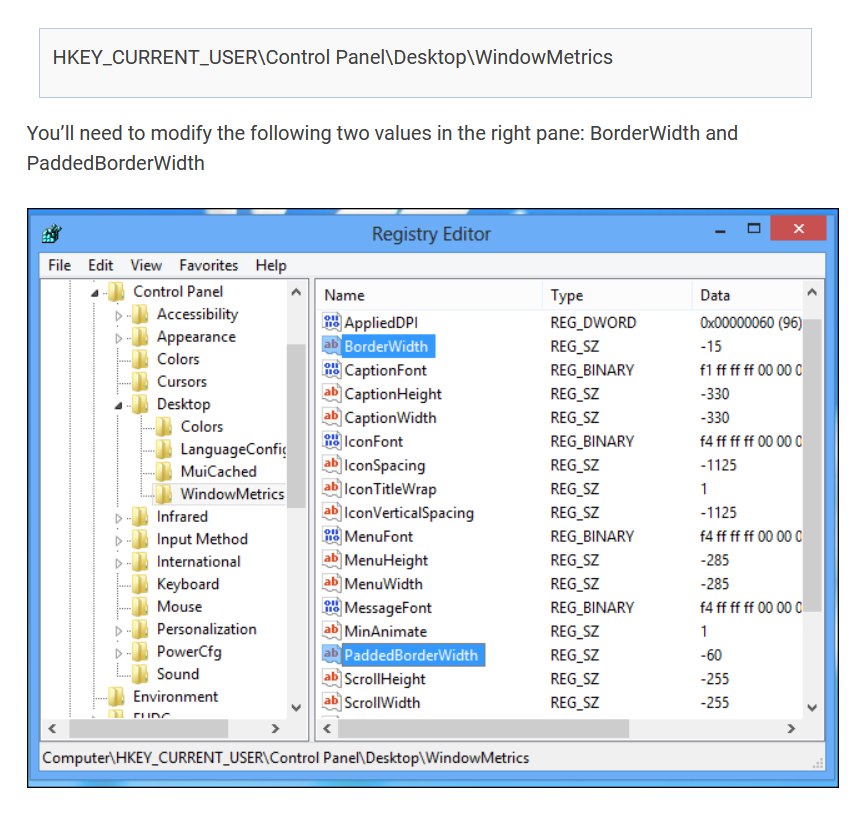
What were the developers thinking back with WIndows 8? 1 Pixel window boarders are some kind of hell for everyone. It just goes to show how totally ignorant Microsoft developers are to real world use scenarios.
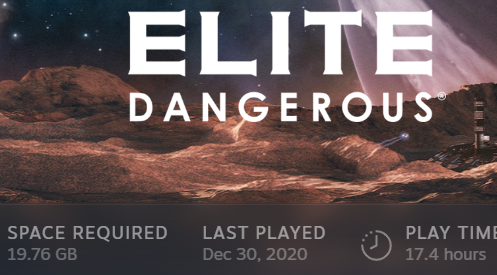
Spring cleaning on a summers day – of the digital sort. Cleaning up some steam games and I find that Elite Dangerous is using a whopping 27gb! In their defense, they tell you 20gb is required, and I’ve had the game installed forever… but still… dangerous indeed!
So MS has gone double back on the word, which is one way forward I guess. After saying that there would never be another:
“Right now we’re releasing Windows 10, and because Windows 10 is the last version of Windows, we’re all still working on Windows 10.” That was the message from Microsoft employee Jerry Nixon, a developer evangelist speaking at the company’s Ignite conference this week.
[the above quote is a perfect example of why brainless exists, the actual quoted work is now killed off]
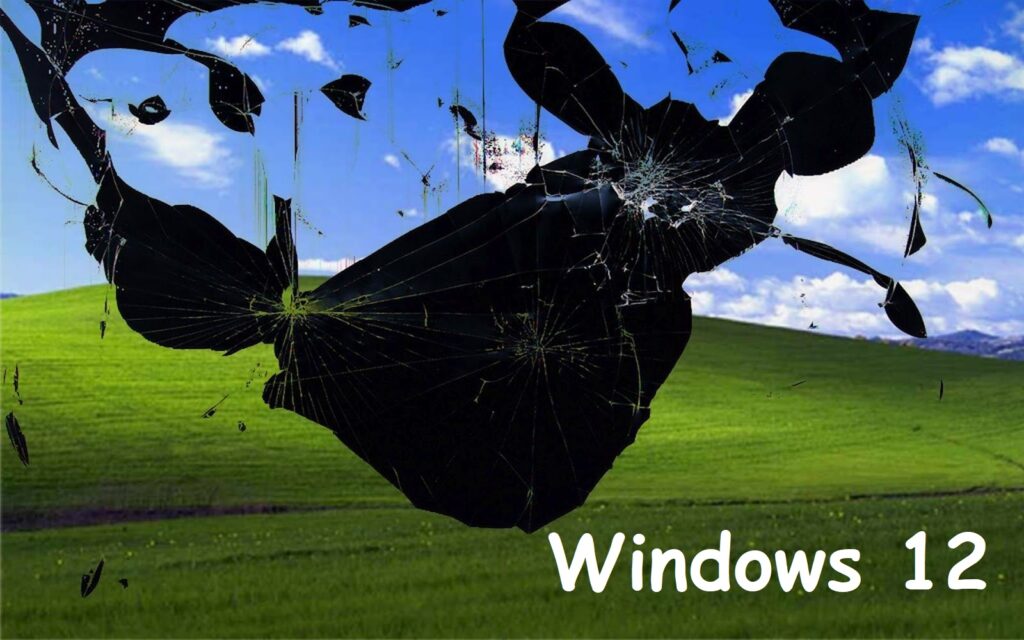
Those who have been paying attention for a while now will see yet more similarities with Windows 11 and Vista. I’m not saying it, but MS clearly is, these are two stinking turds that need to go poof. Windows 12, and of course it will not be called ‘Windows 12’, I’m gonna go out on a limb and say it’ll be Windows Woke, or perhaps WindowsYourWay, as is the perceived market demand. WindowsTheyThem? WindowsWideOpen. Haha, we all know it’ll be Windows 365.
Finally combining xBox and Windows in a online service based platform. Microtransactioning the fsck out of the consumer. Fondling their personal and corporate greed like a 8th grader on summer vacation, at the cost of business’s ability to business even more than today’s impossible environment.
At least we now know not to pay attention to Windows 11… it’s a goner. Keep listening to the kids, Microsoft, and this will continue.
Never just attempt to remove the Swartz. Remove, or remove not; there is no attempt.
Police said the victim was confronted at his residence by his landlord, Michael Bruno, who was attempting to remove the Swartz from the residence. According to the police report, Bruno pointed a shotgun at the victim. The victim then grabbed the barrel of the shotgun and struggled with Bruno,
I’m so sick of Microsoft’s bu!!shit. They continue to fsck over business and their techie base. Modern Windows is nothing (but crap) compared to prior versions. If I need to go into the reasons, please just move along, this is not an article for you – in fact, this is not a site for you. Go away and never come back again. I don’t write this crap for you.
So lets work on a plan to end this madness!
For now, control of Window’s communication with Microsoft servers is step one.
This page will remain a work in progress until I have enough for a full article, please feel free to contribute.
So in going through the remains of Brainless from before the wipe, I ran across this site. I used their software in the past and they have some real neat offers.
Unfortunately, there may be the possibility that the developer is Russian. Consider this strongly before visiting.